
How to Change a Drill Bit on a Jumbo in Under a Minute — And Why Most Crews Take Twice as Long
Every minute a drill jumbo sits idle costs money. And one of the most common reasons a jumbo stops drilling is a worn or damaged bit that needs swapping. The actual swap takes about sixty seconds if you know the procedure. On a lot of sites, it takes three times that — not because the crew isn't skilled, but because nobody ever walked them through the right sequence.
Here's how to change a button bit on a hydraulic drill jumbo the fast way, without damaging the new bit, the drill rod, or the threads you're about to reconnect.
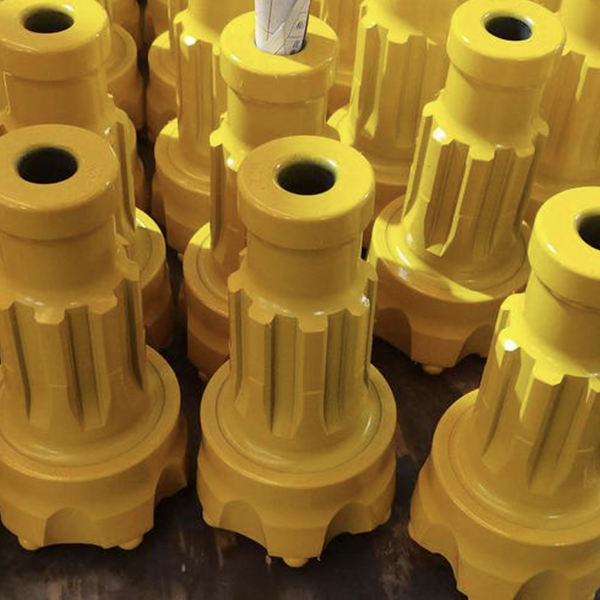
Step One: Set Up Before You Touch Anything
Before you reach for a wrench, get the rig positioned right. Run the feed beam forward until the bit is pressed firmly against the rock face. You want solid contact — this isn't about drilling, it's about giving yourself a stable platform for the next step.
Two things to do right now: center the rotation control handle in neutral, and kick the water pump on. That flush water running over the bit does more than clear the hole — it pulls heat out of the steel. A bit that's been drilling hard rock for the last half hour is hot enough to cook the grease out of the threads the moment you break the connection. Let the water run for ten or fifteen seconds before you proceed. It's the cheapest thread insurance you'll ever buy.
Step Two: Break the Connection Without Breaking Anything
Shift the impact handle into high-impact mode — second gear on most rigs. Now work the feed handle: forward, reverse, forward, reverse. You're not drilling. You're using short pulses of impact combined with the feed movement to break the thread bond between the bit and the drill rod without putting a cheater bar on it. The combination of axial hammering and rotational wiggle is what does the trick.
You'll feel the bit let go — a subtle shift in resistance, sometimes a slight change in sound. As soon as it's loose, retract the drill back from the face. Don't keep hammering a loosened bit. You're just beating up the threads at that point.
Step Three: Cool Down and Clear Out
Shut off the water pump. Now adjust the feed beam height so the bit clears the ground and you have room to work. You want the rod end accessible without lying on your back in the muck.
Take a second to inspect the rod threads while you're there. Clean off any debris with a rag — rock dust and grit in the thread connection will gall the new bit's threads the moment you torque it down. If the threads look dry, a dab of thread grease now saves a stuck bit later.
Step Four: Spin On, Torque Down, Get Back to Work
Thread the new button bit onto the drill rod by hand until it seats. Don't cross-thread it — if it doesn't spin on smoothly, back it off and start again. Once it's hand-tight, use the rig's rotation to snug it down. A properly seated bit doesn't need excessive torque. Overtightening is how you stretch threads and create the next failure.
That's it. Bit changed. Water on, rotation engaged, back to drilling.
The whole sequence, done right, takes about a minute. The difference between a crew that can do this in their sleep and one that fumbles through it is practice — and knowing that the prep steps aren't wasted time. They're what keeps the new bit alive long enough to drill its full meter count.



