
Drill Rod Water Blockage: The Silent Productivity Killer and How to Stop It Before It Starts
I watched a crew in a limestone quarry lose an entire afternoon to one clogged drill rod. Not because the rod was bad. Not because the rig was broken. Because nobody had checked the flushing line before the shift started, and by the time they noticed the penetration rate dropping, the damage was already done.
Water blockage in rock drill rods is one of those problems that feels small right up until it isn't. The bit slows down, the operator pushes harder to compensate, the temperature climbs, and suddenly you've got a seized rod and a hole you can't finish. The worst part? It's almost entirely preventable.
Here's what actually works to keep your flushing channels clear and your drill string running.
Get the Flushing Setup Right from the Start
Not all rock calls for the same flushing approach. In hard, abrasive formations — granite, quartzite, dense basalt — you need a flushing medium that can carry heavy cuttings and cool the bit effectively. Plain water might cut it in soft limestone, but in abrasive ground you'll want higher flow rates and, in some cases, a medium with better lubricity to keep those rock chips moving.
The flushing line itself matters too. A pressure drop somewhere in the system — a pinched hose, a partially clogged swivel, a coupling that's not seated right — will starve the rod of the flow it needs. Cuttings pack up, the rod heats, and you're in trouble. Make it a habit: before every shift, crack open the water and watch it flow clean through the rod before you touch the rock. Ten seconds of checking saves hours of downtime.
Feed Speed: Faster Isn't Better
This is the mistake I see most often. The operator sets the feed too aggressive because the rock feels soft up top, then hits a harder layer and doesn't back off. The cuttings can't clear fast enough at that feed rate, they pack into the flushing channel, and the rod clogs.
The fix is simple but takes discipline: match your feed to what the hole is giving you. When penetration slows, ease off before you force it. If the rock type changes — say you go from weathered overburden into solid granite — adjust your rotation speed and flush pressure to match. A few seconds spent tweaking parameters saves you from pulling a plugged rod and starting over.
The Rod Itself: Quality Shows in the Details
A rock drill rod with a rough inner bore, weld spatter, or internal burrs is going to clog. It doesn't matter how good your flushing setup is if the channel itself is fighting you. The water hits those imperfections, turbulence kicks in, and cuttings start hanging up instead of flowing out.
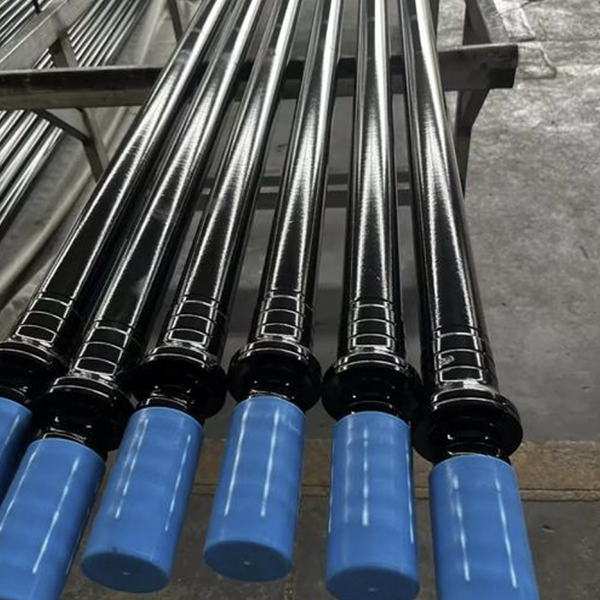
This is where buying from suppliers who control their manufacturing tolerances pays off. A quality drill rod has a smooth, consistent inner bore that lets flushing media flow without restriction. Pair it with properly sealed couplings — worn O-rings and loose threads let pressure bleed off before it ever reaches the bit face — and you've eliminated most of what causes blockages in the first place.
The Pre-Shift Routine That Saves Rods
It takes less than a minute and almost nobody does it: before you drill, run water through the rod and watch it. Clear stream, steady flow? Good to go. Weak stream, sputtering, or nothing? Don't start the hole. Find the blockage, clear it, test again.
Also worth doing: after the shift, flush the rod clean before racking it. Rock dust and slurry left sitting in the channel overnight dries into a crust that'll come loose in chunks the next day and jam the works.
The Bottom Line
Drill rod water blockage isn't a mystery. It's usually a combination of three things: wrong flushing parameters for the rock, feed pressure that's too aggressive, and rods or connections that aren't being inspected regularly. Fix those three, and you'll spend a lot less time pulling plugged steel out of holes.



