
Five Ways to Stop Your Shank Adapters from Breaking — With the Actual Numbers You Need
Shank adapter breakage is one of the most expensive failures on a drill rig. Not because the adapter itself costs a fortune — it doesn't, relatively speaking — but because a snapped adapter mid-round means pulling the string, inspecting the piston face for damage, checking the driver splines, and losing half a shift to a problem that should never have happened.
The frustrating part is that most shank adapter fractures follow predictable patterns. Here are five things you can check and adjust that will prevent the vast majority of them, with the actual pressure values and tolerances you need.
Check the Hydraulic Buffer Pressure
On A-series externally-buffered rock drills, the no-load hydraulic buffer pressure needs to sit between 3.5 and 4.0 MPa. This isn't a set-it-and-forget-it value — buffer systems drift over time as seals wear and accumulators lose charge. When the buffer pressure drops below spec, the piston bottoms out harder at the end of its return stroke, and that extra energy translates into higher peak stress at the shank adapter's strike face.
Check the buffer pressure at the start of every shift or at minimum once a week. It takes two minutes with a gauge on the test port. Write down the reading. If it's trending downward, find the leak before the adapter finds the failure point.
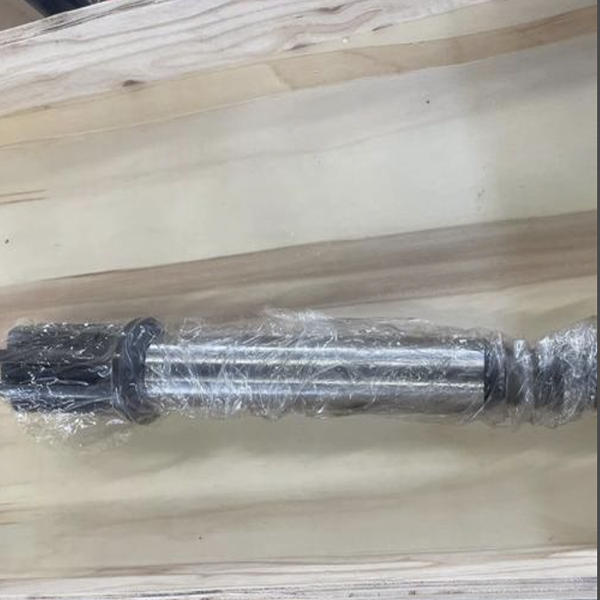
Replace the Guide Bushing Before It Takes the Adapter with It
This is the single most overlooked maintenance item on the front end of a drill. When the inner diameter of the guide bushing wears past one millimeter of clearance relative to a new shank adapter, the adapter is no longer running true in the front head. It's bouncing, tilting, and absorbing bending loads with every blow.
A new guide bushing costs a fraction of a shank adapter. The rule is simple: measure the bushing ID when you change adapters. If you're past the one-millimeter threshold, swap the bushing too. The adapter you just installed will last longer, and the next one will too.
Get the Air-Oil Mist Right — Every Shift, Not Just When You Remember
Air-oil mist lubrication is the lifeblood of the shank adapter-to-bushing interface. Two numbers matter: the air flow rate needs to be at least five liters per second through the lubricator, and the oil consumption rate should hold steady at about 1.5 milliliters per minute.
Check the atomization visually during the daily pre-start inspection. You're looking for a fine, consistent mist — not a wet spray, not a dry puff. If the mist pattern looks weak or uneven, clean the lubricator nozzle and check the oil pickup tube before assuming the setting is wrong. A clogged nozzle at the lubricator is more common than a bad adjustment.
On the oil side, a heavy-duty pneumatic tool oil like Shell S2 A100 works well. Don't substitute whatever grease is on the shelf — the viscosity and the additive package matter at high cycle rates.
Set Feed Pressure by the Rule, Not by Feel
Standard feed circuits on most hydraulic drills should run around 8 MPa. That's the baseline. If your rig uses a special or modified feed system, get the spec from the manufacturer — guessing here is expensive.
The operating principle is straightforward: feed pressure needs to be high enough to keep the drill string engaged with the rock face, but low enough that the drill rod doesn't bow under the load. Too low and you get dry-firing, which hammers the shank adapter threads and splines. Too high and the rod flexes, putting a bending moment through the adapter's drive end that the thread profile was never designed to handle.
The sweet spot is where the penetration rate is steady, the rod runs straight, and there's no bounce in the string. If you hear the impact tone change — going from a sharp, clean crack to something duller — the feed pressure probably needs a tweak.
Keep Everything in Line
The centralizer or rod support at the front of the feed beam wears over time. When it does, the rod sags slightly, and the shank adapter is no longer running coaxial with the drill string. That misalignment translates into cyclic bending stress at every impact — and that's how fatigue cracks start at the adapter's drive end.
Check the centralizer pads. If they're worn enough that you can see the rod drop when you release the feed, replace them or add shims to restore proper support. The goal is a straight line from the piston through the adapter, through the rod, to the bit. Any deviation from that line is a stress riser, and stress risers are where adapters break.



