
Drill Rod Maintenance: The Five Habits That Separate a Six-Month Rod from a Six-Week One
I've seen two identical drill rods from the same batch, run on the same rig, in the same ground — one lasted four months, the other failed in five weeks. The difference wasn't the steel. It was what happened to each rod between shifts.
Drill rod maintenance isn't glamorous work. Nobody gets excited about cleaning threads and checking for hairline cracks. But the math is simple: a rod that's cleaned, lubricated, inspected, and stored properly will outlast a neglected one by a factor of three or four. And rods aren't cheap enough to throw away because you couldn't be bothered to wipe them down.
Clean It Like You Mean It
Surface cleaning isn't optional and it isn't something you do next shift. Rock dust and drilling mud left on a rod overnight start working immediately — the moisture in the slurry initiates corrosion, and the abrasive particles in the dried residue will chew up threads and seals the next time the rod is handled.
Use a stiff brush, compressed air, or a pressure washer to get the surface clean. Pay attention to the thread roots — that's where debris packs in and where corrosion starts. Don't let mud dry into a crust that flakes off into the coupling sleeve next time you make up the string.
Then there's the internal flushing channel. If the rod has a center water or air passage, it needs to be cleared regularly. A dedicated cleaning tool pushed through the bore will dislodge packed cuttings and scale that reduce flushing efficiency and cause the bit to run hot. If you're noticing declining penetration and rising bit temperature, check the rod bore before you start adjusting parameters.
Grease the Threads, Every Single Time
Thread galling is one of the most preventable failure modes on a drill string. It happens when dry threads are torqued together under load, the contact surfaces micro-weld, and the thread flanks tear when you try to break the connection. One galled thread ruins the rod end and usually the coupling sleeve it was connected to.
High-pressure, high-temperature thread grease applied to the threads and the connection shoulder before every make-up prevents this. It also makes disassembly faster and reduces the torque required to break the connection — which saves your crew's backs and your coupling sleeves' threads.
Check the grease condition when you disconnect. If it's dried out or contaminated with rock dust, clean the threads and reapply before the next use. Don't just add fresh grease on top of old grit — you're making lapping compound at that point.
Rust Never Sleeps
For rods in regular use, a light coat of anti-rust oil after cleaning is usually sufficient. Focus on the ends — the thread area and the connection shoulder — and any area where the surface coating has worn through. In humid environments or for rods going into longer-term storage, be more thorough. A missed spot is where rust starts.
For shops that want to go further, phosphating — a chemical conversion treatment that forms a protective phosphate layer on the steel surface — provides both corrosion resistance and reduced friction. It's not something you do in the field, but for rods being refurbished or put into long-term rotation, it extends service life measurably.
Inspect Like You're Looking for Trouble (Because You Are)
Every rod coming off the rig should get a visual once-over. Check the head, the tail, the connection shoulders, and the full length of the body. You're looking for bends, cracks, deformation, or wear patterns that are deeper than surface scratches.
A small surface mark can be dressed with light grinding if it doesn't affect the rod's cross-section. A visible crack — especially at a thread root or a transition shoulder — means the rod is done. Don't try to weld-repair a cracked drill rod and put it back into percussion service. The heat-affected zone from welding changes the metallurgy, and the rod will fail at or near the repair under impact loading. It's not worth the risk.
Take measurements periodically. A caliper on the rod diameter, a thread gauge on the connections, and a check of the overall length against spec will catch wear trends before they become failures. If a rod is wearing faster on one side than the other, your alignment is off somewhere upstream. Find the cause, don't just replace the rod.
Storage: The Rod Rack Is Not a Suggestion
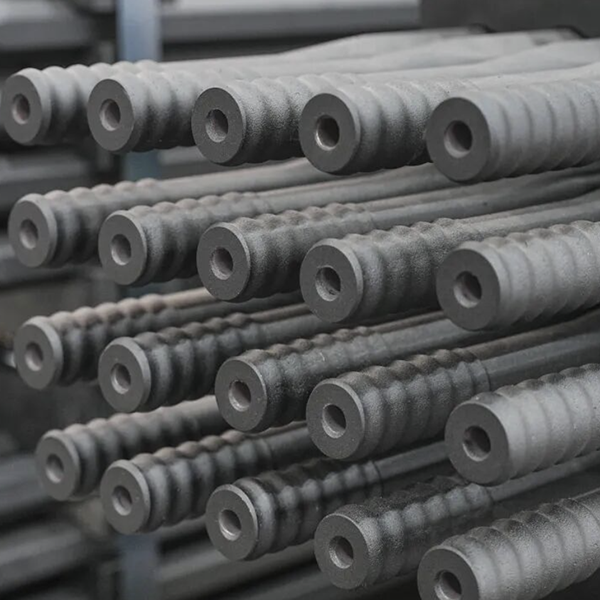
Rods leaning against a wall in a damp corner will be rusted before you need them. Store them horizontally on dedicated racks with support points spaced to prevent sagging — long rods need multiple supports along the length, not just at the ends. Keep them sorted by specification so the crew isn't digging through a pile to find the right size.
Control the humidity in the storage area. A dehumidifier or desiccant packs are cheap insurance against ambient moisture. If the storage area shares space with a wash bay, you're fighting a losing battle — keep the rods somewhere dry and ventilated.
None of this is novel. It's just the difference between treating drill rods as consumables that you expect to replace, and treating them as assets that should earn their cost back several times over. The maintenance doesn't take long. The repairs you avoid by doing it take a lot longer.



